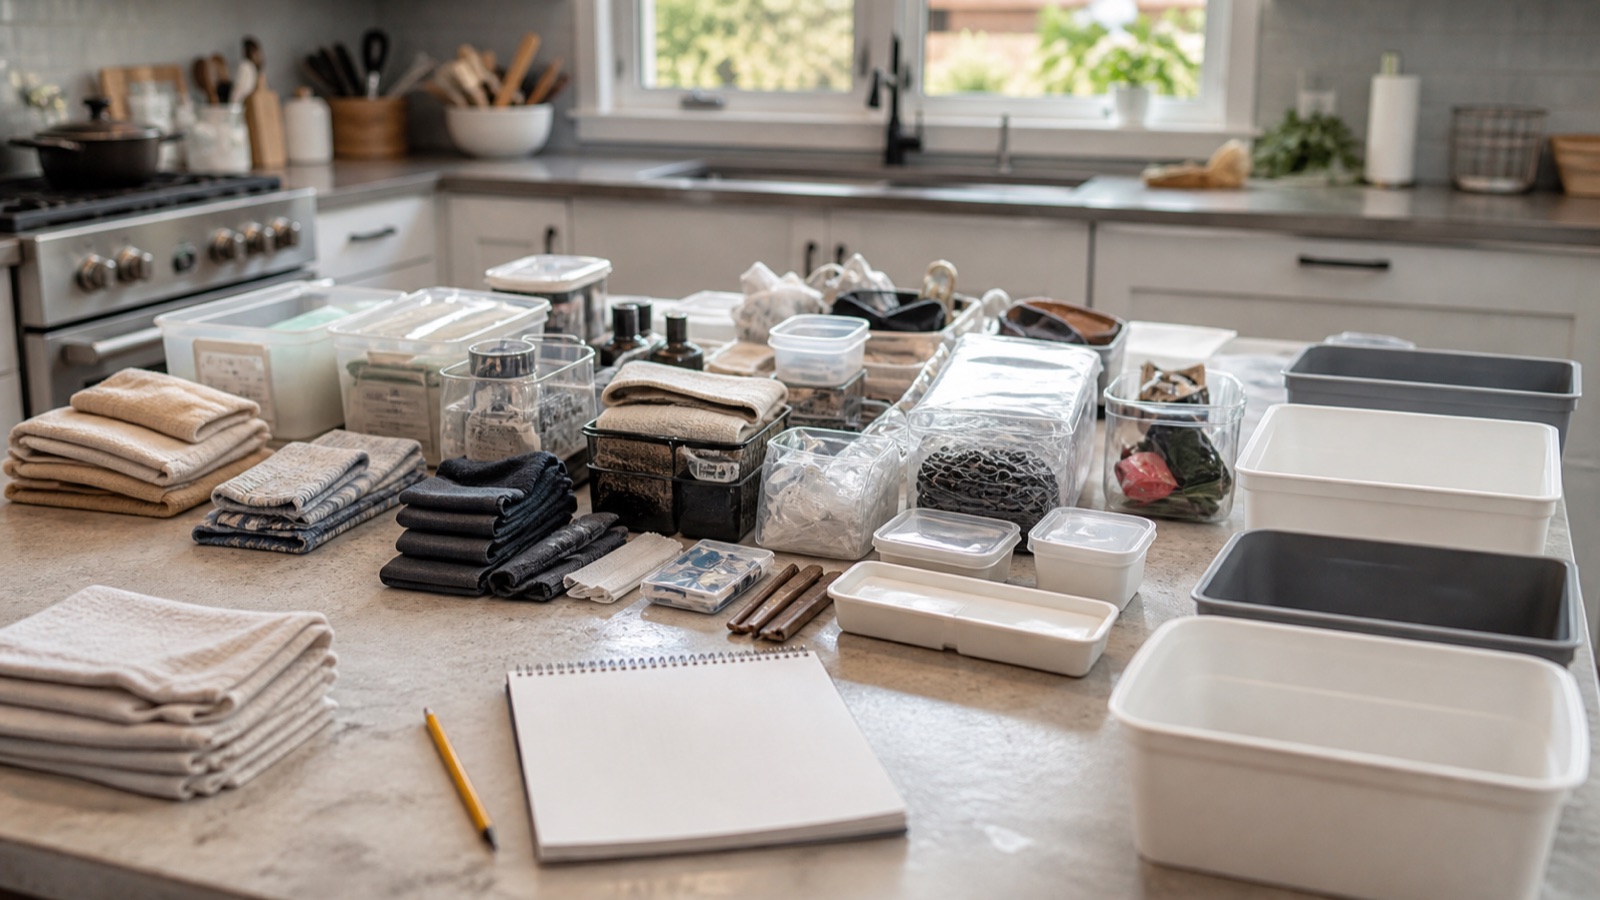
If you have already bought organizers and your small kitchen is still cluttered, the problem was the order you did things in, not the products. Most "how to organize a small kitchen" articles start with what to buy. The system that actually holds starts with what to remove, then where each remaining thing lives, and only then what container it needs. This guide lays out that order in five steps, with a dedicated guide for each, so you can do a full reset in one weekend or take one step per week.
Follow the steps in sequence. Skipping step one, the edit, is the single most common reason a kitchen reorganization comes undone within a month, because you end up buying storage for things you should have let go. The whole system, done properly in a kitchen under 100 square feet, usually takes four to six hours spread across a weekend, and most of that is step one.
Step 1: Empty the kitchen and edit what goes back
Take everything out of one zone at a time, not the whole kitchen at once unless you have a full day and a clear table. Put back only what you have used in the last three months, plus a short list of seasonal items that get a defined home. Everything else goes into a donate box, a "decide later" box with a date on it, or the trash. The kitchen declutter checklist is a printable pass through every category, from the fourth spatula to the spices that expired two apartments ago, with a decision rule for each one so you are not standing there debating a garlic press.
If you want a target to aim at instead of a list to work down, the minimalist kitchen essentials list gives a complete working kitchen in roughly 40 items for one or two people. You do not have to hit the number. The point is to see how much a small kitchen holds when nothing is duplicated, and to notice which of your items are on the list twice.
Step 2: Divide the kitchen into zones
Once the edit is done, assign every remaining item to the place where you use it. Cooking tools near the stove, prep tools near the largest stretch of counter, dishes near the sink or dishwasher, food in one place rather than three. In a small kitchen some zones will overlap or share a cabinet, and that is fine as long as each one has a defined edge and you can say which shelf belongs to which job.
The kitchen zone system explained walks through the five standard zones, how to shrink them for a galley or a one-wall kitchen, and what to do when the stove and the sink are on opposite walls. For a zone-by-zone look at the physical spaces themselves, including the dead zones under the sink and above the fridge that most kitchens waste, use small kitchen storage ideas by zone.
Step 3: Give every item a specific home
Zones tell you which cabinet; homes tell you which shelf and which position on it. This is the step where the awkward items, the pot lids, the container lids, the air fryer, the cutting boards, need real answers, because "somewhere in the lower cabinet" is exactly how clutter comes back. What goes where in a small kitchen has an item-by-item guide for each of them, with the two or three storage methods that hold up and the limits of each.
The rule that keeps this step honest: if an item has no home after ten minutes of trying, it goes back to step one. Most people find that three to five items fail this test, and they are almost always things that were kept "just in case."
Step 4: Buy only what the zones need
Now you shop, and you shop from a short list written in step three. Most small kitchens need three or four organizers total after a proper edit: a shelf riser or two for the upper cabinets, a divider for the one good drawer, a container set with lids that stack, and something for under the sink. The $50 renter kitchen makeover shows exactly this, a before-and-after of a rental kitchen done on a hard budget, with a breakdown of which purchase gave the most improvement per dollar.
For the products themselves, the best shelf risers and cabinet shelves and the best drawer dividers and organizers cover the two purchases that come up most often, and the best stackable food storage containers is the one that ends the lid problem for good. The full set of comparisons, sorted by the problem each solves, is in the small kitchen organizer buying guide. If you rent, filter all of it through renter-friendly kitchen storage first, because a lease rules out anything that needs a screw, and that removes about a third of what most lists recommend.
Measure before you order. The most common complaint in organizer reviews is not quality; it is that the riser was an inch too deep or the divider would not reach across the drawer.
Step 5: Keep it that way with a weekly reset
A small kitchen drifts fast; one week of putting things down "just for now" undoes a weekend of work. The fix is a short, fixed routine rather than periodic big cleanups. The weekly kitchen reset routine is a 15-minute checklist: clear the counter back to its baseline, return the drifted items to their homes, pull anything expired from the fridge, and reset the one zone that gets messy fastest, which is usually the drawer or the spot next to the stove.
Small-kitchen owners consistently report that the weekly reset is what separates a kitchen that stays organized for a year from one that gets redone every spring. It only works if the homes from step three are specific, which is why the steps are in this order.
The mistakes that undo the system
Most failed reorganizations fail the same way: buying before editing, storing by category instead of by where you use things, keeping counter appliances you use once a month, and filling every inch so there is no room for a week's groceries. Small kitchen organizing mistakes to avoid goes through each one with the fix. Read it before step four, because it will shorten your shopping list, and read it again in three months if things are drifting.
How long each step takes
For a typical apartment kitchen, step one is two to three hours if you do it in one pass, or 20 minutes per cabinet if you spread it out. Step two is about an hour with a notepad. Step three is another hour, mostly spent on the five or six awkward items.
Step four is the time it takes to measure and order, then ten minutes per organizer to install. Step five is 15 minutes every week, and it is the only step that never ends.
Where to start
Start with step one, today, on one cabinet. Do not shop yet. When the edit is done, assign zones, then homes, and only then open the buying guide. If you finish steps one and two this weekend and run the reset every Sunday, you will have done more than most organizing articles ever get anyone to do, and your kitchen will still look like this in a year.