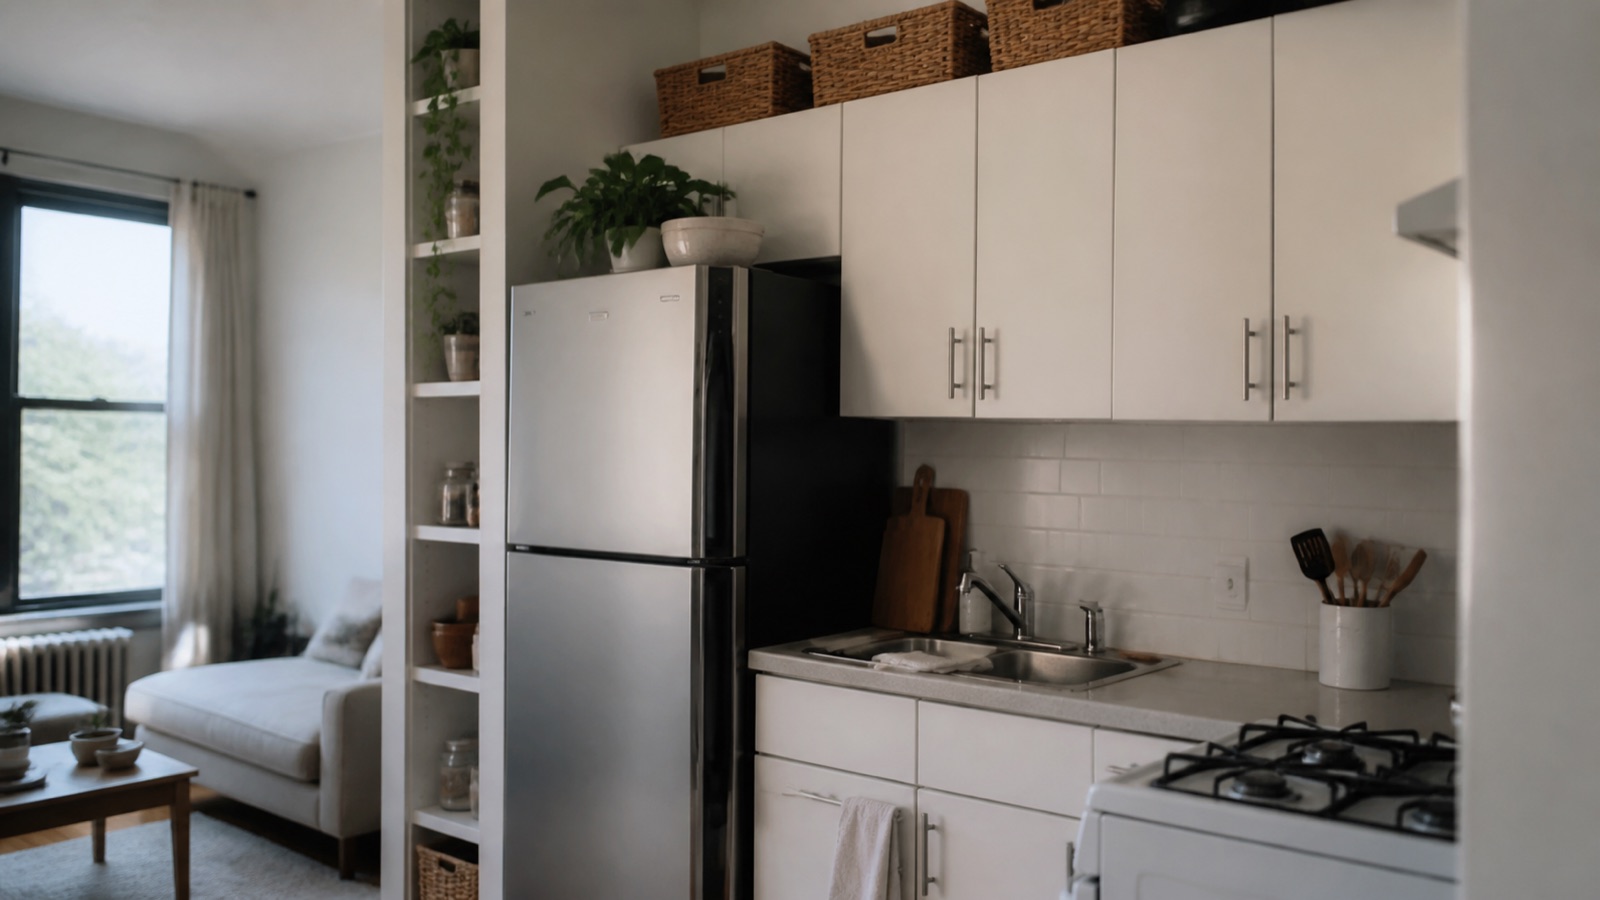
A typical apartment kitchen gives you 6 to 10 feet of counter, four to eight cabinets, maybe two drawers, and no pantry, and then the toaster, coffee maker, air fryer, and microwave take the counter before you have unpacked a single plate. Search for apartment kitchen storage ideas and you get "26 ideas" listicles that mix pegboards, pantry makeovers, and drawer dividers for drawers you do not have. None of them start from the two questions that matter in an apartment: where is the unused space, and what will the landlord let you put there?
This guide is organized by location, from the counter outward, so you can skip to the space you actually have. Every idea follows the rules in our renter-friendly kitchen storage guide: nothing needs a drill, and everything leaves with you at the end of the lease.
The Counter: Pick Two Appliances and Move the Rest
Counter space in an apartment is the scarcest surface you have, and appliances are what eat it. The rule renters consistently report working is to allow two daily-use appliances on the counter, usually the coffee maker plus either the microwave or the air fryer, and to give everything else a home somewhere else. A blender used twice a month does not earn 2 square feet of counter.
The "somewhere else" options, in order of convenience, are the top of the refrigerator for the lightest and least-used items, a rolling cart shelf for the microwave or air fryer, and a deep base cabinet for the stand mixer and slow cooker. Fridge-top storage works when the fridge is freestanding with 8 or more inches of clearance to the cabinet above it. It does not work for anything over about 15 pounds that you would have to lift over your head, and it is off the table when a cabinet sits directly on the fridge.
Once the appliances are off, the rest of the counter is a separate job. Our countertop organization guide covers what earns a spot there and what goes vertical.
Beside the Fridge: The Gap Cart
Most apartment fridges leave a gap of 5 to 12 inches on one side, and a slim rolling cart is the only thing that fits it. The narrow versions, 5 to 8 inches wide with three or four tiers, hold cans, spice jars, oils, and sauce bottles that would otherwise crowd a cabinet. Wider three-tier carts, 13 to 18 inches, fit at the end of a counter run and take small appliances and dry goods.
Measure the gap at both the front and the back, because fridge doors and cabinet handles often make the opening narrower than the wall-to-fridge distance. The cart also needs a few inches behind it so the fridge can vent; a blocked vent is the most common complaint that turns into a repair call. Slim carts are typically under $40 and roll fine on hard floors and low carpet, but the small casters sink into thick carpet.
See the best rolling carts for small kitchens for the slim and standard sizes, and check the listing for the current width before you buy.
Inside the Upper Cabinets: Add a Second Level
Upper cabinets in apartments are typically about 12 inches deep with 12 to 15 inches between shelves, and almost all of that height is empty air above a stack of plates. A shelf riser 5 to 8 inches tall puts mugs under the plates or a second row of bowls above them. Under-shelf baskets hook over the edge of a shelf and hang a tray of foil, wraps, or napkins below it.
Risers work on any flat shelf at least 10 inches deep. Under-shelf baskets are pickier: the shelf needs to be roughly 5/8 to 3/4 inch thick with no front lip, and the basket takes about 4 inches of height from whatever sits below. The most common review complaint is a basket that will not slide onto a thick particleboard shelf, so measure the shelf thickness first.
A two-pack of risers usually runs under $25 and moves to the next apartment with you. Our best shelf risers roundup compares wire, plastic, and bamboo versions by height and load.
Cabinet Doors and the Fridge Side: Vertical Space Without Holes
The inside of a cabinet door holds cutting boards, pot lids, and rolls of foil in an over-the-door rack that hooks over the top edge. Racks fit standard doors around 3/4 inch thick and need about 2 inches of clearance between the door and the shelf edge when closed; a cabinet whose shelf runs right to the door will not close over one. Felt tape under the hooks protects the door finish for move-out.
The side of the fridge is the other free wall, and a magnetic knife strip, magnetic spice tins, or a magnetic paper towel holder use it without touching drywall. Magnetic mounts work on steel fridge sides and fail on many stainless fronts and on the plastic-sided models common in older apartment kitchens, so test with a fridge magnet first. Anything heavier than a couple of pounds needs a strip rated for the load; check the listing for the weight limit.
For the full set of mounts that leave no trace, including tension rod shelves for the gap under the upper cabinets, see our no-drill kitchen storage ideas.
No Pantry: Make One From a Wall and Rectangles
An apartment without a pantry stores food in one cabinet, and that cabinet fills with half-empty bags in irregular shapes. Two things fix it. A freestanding shelving unit 24 to 36 inches wide and about 12 inches deep on any bare wall becomes the pantry, and decanting cereal, rice, pasta, and flour into square stackable containers turns loose bags into rectangles that stack two or three high.
Shelving units over about 48 inches tall are meant to be anchored to the wall, which most leases forbid, so either choose a shorter unit with the heavy items on the bottom or get written permission for a single anchor. Containers in the 1.5 to 4 quart range cover most dry goods, and a set of six to eight typically runs $25 to $50. The most common complaint in reviews is lids that stop sealing after months of use, so look for sets with replaceable gaskets.
Our guide to where to put food when there is no pantry covers the layout, and the best stackable food containers roundup covers which sets stack without tipping.
The One Deep Cabinet: Cookware That Nests
Apartment kitchens usually have one base cabinet wide enough for pots and pans, and a standard set of five pans with lids does not fit in it. A nesting cookware set with removable handles stacks five pieces into the footprint of the largest pan, roughly 10 to 12 inches across and 6 to 8 inches tall. That frees the rest of the cabinet for the stockpot and the sheet pans that do not nest.
Nesting sets suit one or two people cooking most meals and anyone who moves every year or two. They are the wrong choice if you cook for a family with two large pots going at once, because a removable-handle set usually ships with one or two handles, and some sets restrict which lids fit which pans. Our comparison of the best nesting cookware sets covers the handle mechanisms and which sets are oven-safe.
Under the Sink: The Cleaning Closet You Do Have
An apartment kitchen without a closet keeps cleaning supplies under the sink, in a cabinet shaped around a drain trap. An expandable shelf that assembles around the pipes gives you a second level, and a small caddy with a handle holds the spray bottles so they come out in one lift. Nothing screws into the cabinet floor, and a plastic tray underneath catches the drips that would otherwise show up as a water stain on your move-out inspection.
This works when the cabinet is at least 24 inches wide and the trap sits roughly in the middle. It does not work as neatly in kitchens with a garbage disposal, which takes one whole side, or where a water filter or dishwasher line runs across the cabinet floor. Measure the clearance on each side of the trap before buying anything with fixed shelves.
Start With the Cart and the Risers
If you buy two things for an apartment kitchen, make them a rolling cart and a pair of shelf risers. Together they typically run under $60, fix the counter and the upper cabinets, and move with you. The rest of this list depends on the layout of your particular kitchen: whether there is a fridge gap, a bare wall, or a disposal under the sink.
Once the appliances are off the counter and the cabinets have a second level, most apartment kitchens turn out to have more room than they looked like on the walkthrough. The rolling cart and shelf riser roundups linked above are where to start.