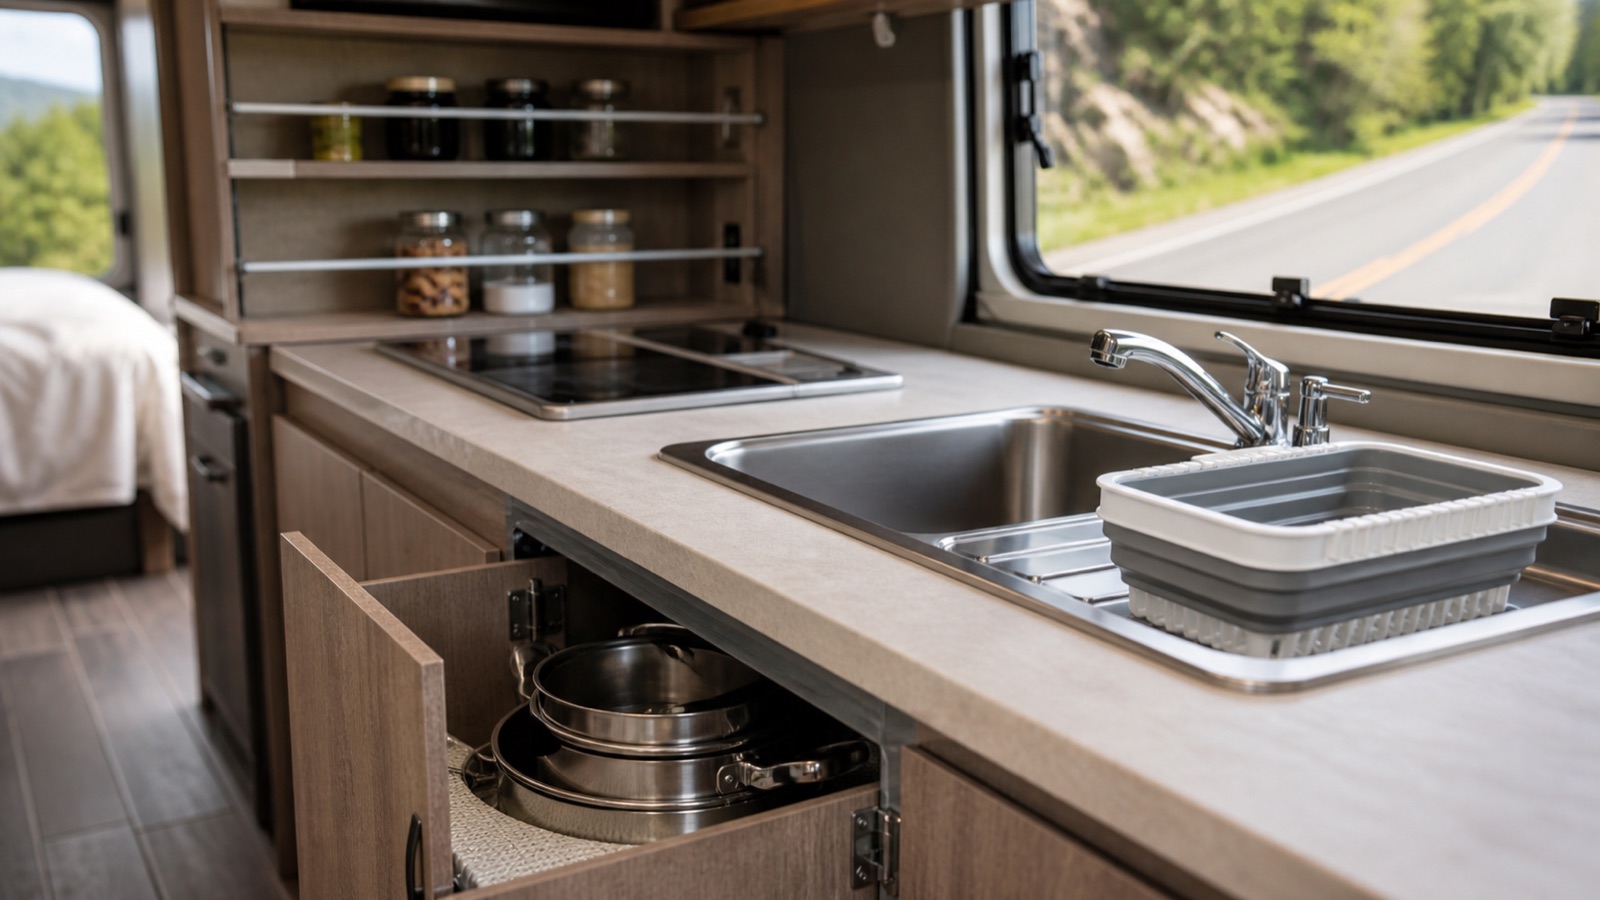
You pull into the campsite, open the cabinet over the sink, and a pot lid and three spice jars come out before you touch anything. RV kitchen storage has two problems an apartment kitchen never has: everything must survive 300 miles of washboard road, and the cabinets are shallow, often 10 to 12 inches deep, with thin walls that will not hold a screw. The RV blogs cover the hacks well but stop short of the buying side, which is where most owners get stuck: which nesting set, which container, which rod actually stays put.
This guide takes the no-drill methods from our renter-friendly kitchen storage guide and adds the travel test to each one. For every idea you get how to set it up, when it works, and the point at which RV owners report it failing, whether that is heat, vibration, or altitude.
Nesting Cookware Is the Biggest Single Cabinet Win
A standard set of three pots and two pans with fixed handles fills an entire RV cabinet by itself. A nesting set with detachable handles stacks the same pieces into a column 6 to 8 inches tall, which usually frees a full cabinet for food. Look for 8 to 10 pieces, lids that nest or lie flat, and induction compatibility if your rig has an induction cooktop, which many newer models do.
This works when you have one cabinet or drawer at least 8 inches tall and 11 inches deep, and when everyone in the rig can live with one handle shared across pans. It does not work as well for heavy searing on cheap thin-bottomed sets, which warp on a hot burner. Nonstick pieces scratch when nested without felt protectors, so budget a pack of pan protectors alongside the set.
The most common complaint in reviews is the detachable handle latch loosening after a season of daily use, so check the listing for a replaceable handle. Our roundup of the best nesting cookware sets compares stainless, ceramic, and hard-anodized options by weight and cabinet footprint, and our guide to storing pots and pans in a small kitchen covers the lid problem separately.
Tension Rods as Travel Bars and Dividers
A spring tension rod set 1 to 2 inches inside a cabinet door, across the front of the shelf, stops jars and cans from sliding into the door on a hard brake. Two or three vertical rods in a tall cabinet divide baking sheets and cutting boards so they stand instead of stacking. In a pantry closet, a tension rod shelf adds a level without any hardware.
Rods work when the cabinet has solid side walls to push against. Most RV cabinets are thin luan plywood over a light frame, which holds a rod but dents over time, so use rods with rubber end caps and put a square of non-slip liner under each end. Keep rods under about 28 inches; longer ones bow and pop loose on rough roads, and two short rods beat one long one.
Rods are a fence, not a shelf, for heavy items. Anything over a few pounds, like canned goods, belongs in a bin rather than behind a rod. See our comparison of the best tension rod shelves for the sizes that fit RV cabinets.
Bins Plus Non-Slip Liner: Everything Rides in a Box
The rule RV owners repeat most often is that nothing loose lives in a cabinet. Measure each cabinet's depth and door opening, then buy bins 4 to 6 inches tall and 1 inch shorter than the cabinet depth so the door closes. One bin per category: breakfast, baking, snacks, spices. Non-slip liner under each bin keeps the bin from sliding, and the bin keeps everything inside it from sliding.
This works in any cabinet, but it means accepting fewer, larger bins instead of stacking loose items. Rigid plastic bins can crack in freezing winter storage, so check reviews if you store your rig through a northern winter. Fabric bins collapse when half empty and let contents shift. Use lidded bins for anything that can leak, including oil bottles and dish soap.
The same idea applies inside the fridge: a couple of narrow bins with a bar across the front stops the bottle avalanche that greets you at every stop.
Containers That Do Not Pop Open on the Pass
Climbing a 5,000-foot pass or sitting in 100-degree heat pushes air out of a food container, and coming back down pulls the lid loose. Owners report finding flour lids popped and coffee spilled across a cabinet after a mountain day. Look for containers with four-sided latching lids and a silicone gasket, square or rectangular so they stack, and fill them close to the top so contents do not rattle.
This works for dry goods and leftovers. It does not solve altitude for carbonated drinks or aerosol cans, which belong in the fridge or a closed bin. Sets in the 1 to 2 quart range fit 10-inch-deep cabinets; check the listing for exterior dimensions, since many sets list capacity but not footprint. Our guide to the best stackable food containers notes which lids hold a seal under heat.
Magnetic Strips and Spice Tins, and Where They Fail
A magnetic knife strip screwed into a cabinet face frame or a backsplash stud frees drawer space, and magnetic spice tins on the range hood or a stuck-on steel plate free a whole cabinet shelf. In an RV the rules change. Adhesive-mounted anything tends to let go when the interior hits 120 degrees in a summer parking lot, so screws into something solid are the only mount that lasts.
Magnets need steel to hold, and most RV walls are fiberglass, aluminum, or vinyl-wrapped panel. That leaves the hood, the fridge door (if it is steel, which many RV fridges are not), or a steel plate you mount yourself. Even on a good mount, tins slide off under hard braking. The fix is a small basket for the tins that lives in travel mode.
Knives are the bigger safety issue. Owners consistently report moving knives to a sheath or a drawer block before pulling out, and using the strip only while parked. See our guide to the best magnetic knife strips for the difference between adhesive and screw-mounted models.
Cabinet Doors and the Space Over the Sink
Over-cabinet-door hooks hold towels, oven mitts, and a small basket for foil and bags. The catch is thickness: RV cabinet doors run 1/2 to 3/4 inch, so organizers made for house doors (1 3/8 inches and up) flop around. Look for hooks sized for cabinet doors and check the clearance against the door latch, which in an RV is often a push-button catch that a hook can block.
Over the sink, a cutting board sized to cover the basin adds a foot of counter, and a collapsible dish rack folds to about an inch thick for travel. Neither needs a mount. A two-tier sink caddy that hangs on the faucet base holds sponge and soap without adhesive.
The Travel-Mode Checklist
The best RV kitchen storage still fails if you leave in a hurry. Five minutes before pulling out: lids latched, rods in place, knives sheathed, spice tins in their basket, nothing left on the counter, fridge bar across the bottles. Owners who do a rough test lap around a parking lot with a new setup find the weak points before the highway does.
If you are working with an even smaller rig, our camper van kitchen storage guide covers the strap-down versions of these ideas. And if you only buy two things from this list, make them the nesting cookware and the latching containers, because those are the two that owners say freed the most cabinet space and cost the least in spills.