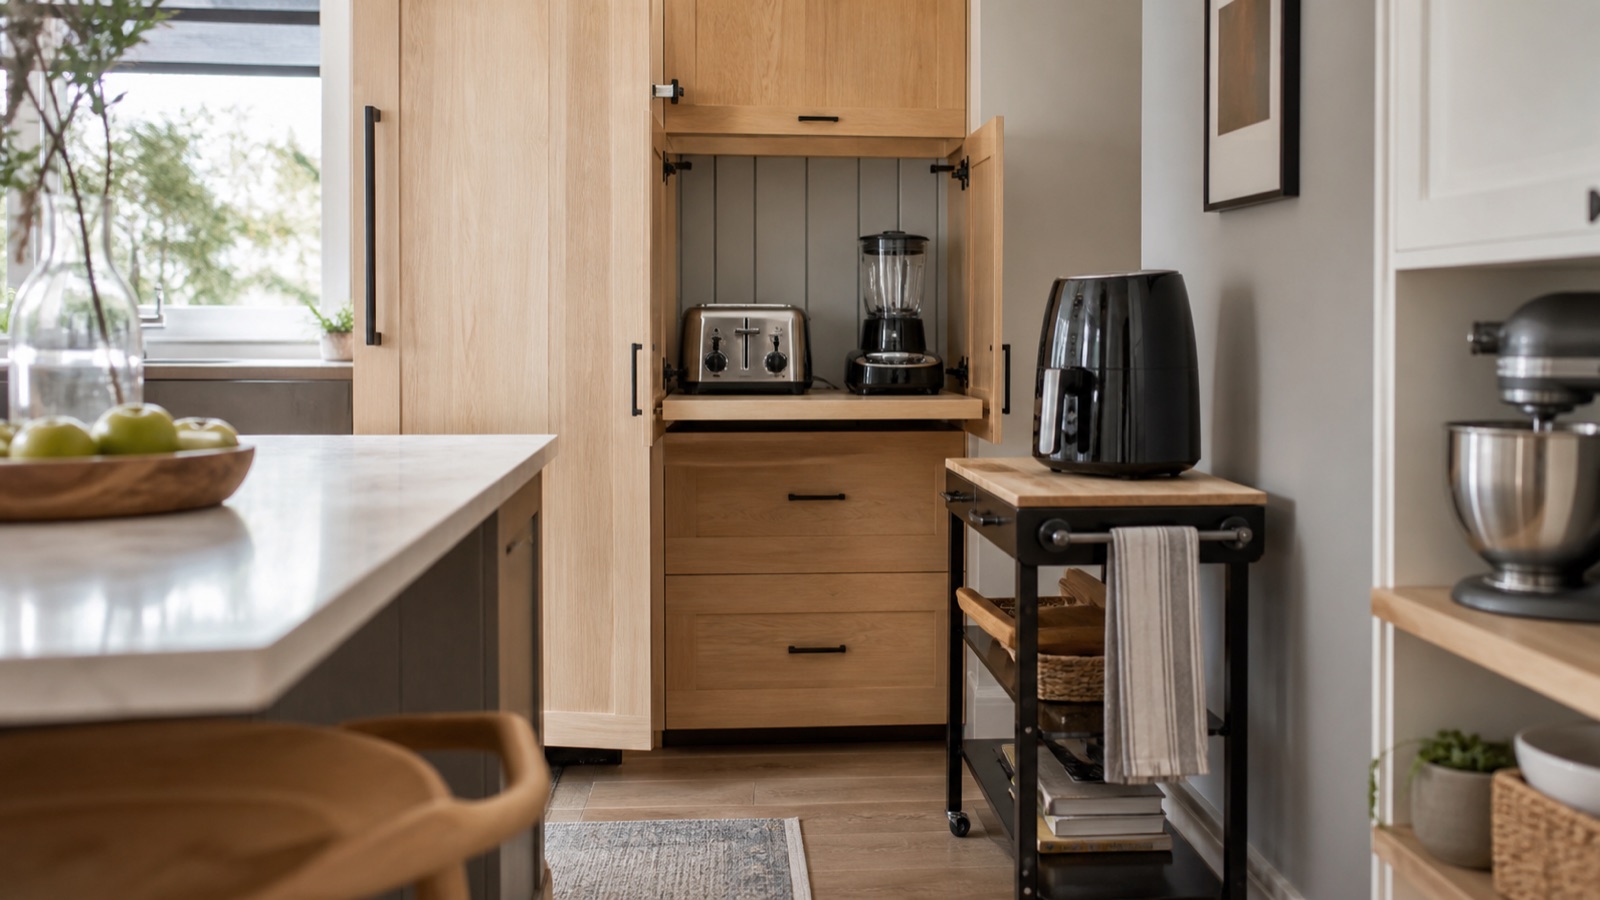
The air fryer sits on the counter because it does not fit anywhere else, the Instant Pot lives on the closet floor, and you have about 18 inches of actual workspace left. Search "where to store air fryer" and the answer is usually "in a cabinet," with no mention that most basket air fryers stand 12 to 15 inches tall and a lot of lower cabinet shelves clear about 12. This is one of the item pages in our what-goes-where guide to small kitchen storage, and each option below comes with the height, weight, and heat limits that decide whether it works in your kitchen.
Start by measuring. Write down the footprint and height of each appliance, and check the listing for current dimensions if you are shopping for a new one, because a 6-quart air fryer and a 4-quart model can differ by 3 inches in every direction. Then measure the interior height and depth of every cabinet and the gap beside the fridge, because those two numbers rule out most options before you spend anything.
Decide which appliances earn counter space
Counter space in a small kitchen is worth more than cabinet space, so the rule most home cooks settle on is that an appliance stays out only if it is used four or more times a week. For most households that is a coffee maker and one of the air fryer, toaster, or microwave. Everything else, including the stand mixer, gets stored, and the counter goes back to being a work surface.
The catch is that a stored appliance gets used less, and reviews of appliance garages and cabinets are full of Instant Pots that went from weekly use to twice a year. If an appliance is heavy, over about 15 pounds, and you have to lift it onto the counter, it needs to be stored at counter height or on wheels, or it will not get used. For the rest of the counter, see our guide to freeing up counter space in a tiny kitchen.
Park them on a rolling cart
A three-tier steel cart in a 12- to 18-inch gap beside the fridge or at the end of the counter run holds an air fryer on top, an Instant Pot in the middle, and the blender on the bottom, and it rolls out when you cook. Carts in the $30 to $70 range typically rate shelves for 20 to 35 pounds each, and a cart with a solid wood or bamboo top doubles as extra counter. This is the option that works when every cabinet is full and the constraint is floor space rather than storage.
The limits are heat and clearance. An air fryer or toaster oven running on a cart shelf needs about 5 inches of clearance above and behind it, so appliances usually need to be on the top shelf to run, and never run a steam-producing appliance under an upper cabinet. Wire shelves also let small appliances wobble; a flat shelf liner fixes that. Our roundup of the best rolling carts for small kitchens compares top surfaces and weight ratings, and our guide to using a rolling cart as a mobile kitchen zone covers how to set one up.
Put a pull-out shelf in the deep lower cabinet
A deep lower cabinet, 22 to 24 inches deep, is where appliances go to disappear. A pull-out shelf on rails, $25 to $60, brings the back of the cabinet to you so the blender and food processor can live at the back without being lost. Where the cabinet has a single tall opening, a two-tier pull-out holds the Instant Pot on the bottom and the smaller appliances above it.
The two numbers that matter are the interior height, which needs to clear the tallest appliance plus about an inch, and the face-frame opening, which must be wider than the shelf. Most pull-outs need screws into the cabinet floor, which is inside the cabinet and invisible, so renters generally consider it acceptable, but a no-drill alternative is a set of cabinet shelf risers that lift the small appliances above the large ones. Heavy appliances, over 20 pounds, need rails rated for it; check the listing's load rating before you buy.
Use the top of the fridge and cabinets for the rarely used
The space above the fridge and on top of the upper cabinets is the natural home for the appliances you use monthly: the slow cooker, the waffle iron, the stand mixer bowl. A shallow bin or a wire shelf up there keeps them dust-free and easy to pull down. Our guide to above-the-fridge storage covers bins and shelves that fit the usual 12- to 15-inch gap.
The limit is weight overhead. A stand mixer at 20 to 30 pounds is a lift most people will not do at head height, and reviews of fridge-top shelves consistently mention things sliding when the fridge door is slammed. Keep this zone for appliances under about 10 pounds, put them in a bin with handles, and remember that the top of the fridge runs warm, which shortens the life of anything with a rubber gasket.
Store the seasonal ones outside the kitchen
If the kitchen is genuinely out of room, the coat closet, a bookshelf in the hall, or a lidded bin under the bed holds the appliances you use a few times a year. Keep them in their boxes or in clear bins so you can see what is where, and keep the cords wrapped with the manual inside. Home cooks with tiny kitchens consistently report this is the change that finally made the kitchen workable.
It only works for appliances with a real seasonal pattern, since anything you have to walk to another room for will stop getting used. Damp basements and hot attics are bad for appliances with electronics, and a bin of heavy appliances on a high closet shelf is a safety problem. Keep it to items under about 10 pounds up high and put the heaviest ones at floor level.
Consolidate into fewer appliances
The structural fix is fewer appliances. A multi-cooker that pressure cooks, slow cooks, and air fries replaces two or three single-purpose boxes, and a toaster oven with an air fry mode replaces the toaster and the air fryer. The most common complaint in reviews of combination appliances is that they do each job slightly worse than the dedicated version, which is a real trade, but in a kitchen with one cabinet it is usually the right one.
Measure before you swap, since combination units are often larger than either of the appliances they replace. Then give the survivors the best spots: the daily-use one on the counter or the cart, the weekly one on a pull-out shelf, the monthly ones up high. Start with a rolling cart if the floor has room and shelf risers if it does not, and the rest of the counter comes back on its own.